What's Actually Inside Our Championship Buggies: 7 Tricks the Vipers RC Crew Swears By
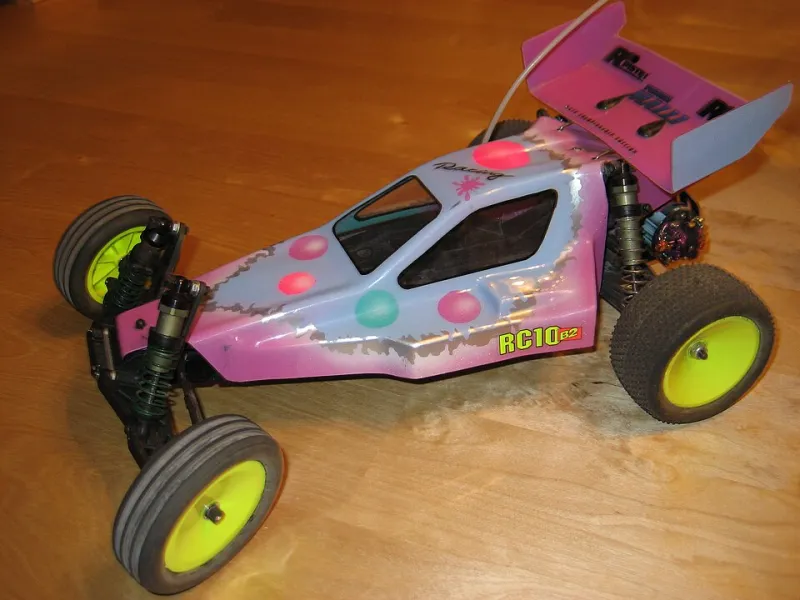
Photo: Tommittaja, Public domain, via Wikimedia Commons
People ask us all the time at the track: "What's the secret?" They see our buggies hooking up through the sweeper at Wildwood Raceway or soaking up the whoops section like the bumps aren't even there, and they assume there's some magic bullet.
There isn't. There's just a checklist. And today we're sharing it.
1. Weight Lives in the Corners — So Attack It There
The single biggest misconception in 1/10 buggy building is that shedding grams from the chassis is where it's at. Sure, a carbon fiber top deck looks sweet, but our race crew spends way more time on rotating and unsprung weight.
- Swap steel outdrives for aluminum or CVD-style lightweight units (~$28, saves 11g per side)
- Run the lightest wheels your class rules allow — we're talking 1-2 grams per corner difference
- Drill nothing. Guilt-tripping yourself into drilling your chassis is a good way to crack it on a hard landing.
The result? Noticeably quicker steering response and less inertia flicking the rear end around on loose surfaces.
2. The $4 Diff Build That Outperforms $40 Silicone
Here's a team secret we probably shouldn't publish: our diff oil is cheap. Like, hardware store cheap in one specific case. For loose, dusty Midwest-style tracks, a 2,000cSt center with 7,000cSt front and a slightly thinner rear gets our buggies rotating earlier in the corner.
The trick isn't the oil — it's the rebuild schedule. Fresh diffs every two race days. Old oil shears down and gets inconsistent, and no amount of expensive fluid fixes a lazy rebuild habit.
3. Ride Height: Lower Than You're Comfortable With
Our lead tuner, Marcus, runs his 2WD buggy at 22mm front and 24mm rear on high-grip indoor clay. Most club racers are 3-5mm higher "to be safe." That extra clearance is costing you corner speed.
Start at your current height, drop 1mm at a time, and watch your lap times. When they stop improving or you start bottoming out over the triple, back off. That's your number.
4. Electronics Placement Is Free Performance
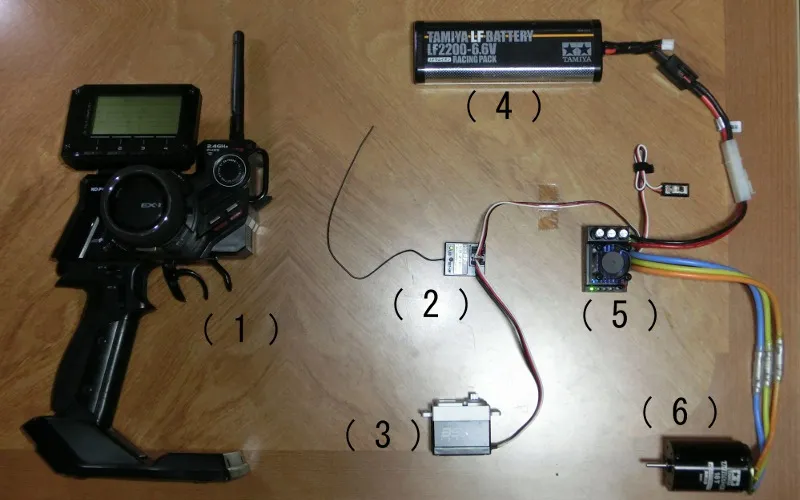
We've seen guys spend $200 on a new servo to fix a pushing front end when the real problem was 15 grams of receiver and ESC sitting too far forward. Our layout:
- ESC as far back and low as the wiring allows
- Receiver taped flat against the rear bulkhead area
- Personal transponder mounted on the side pod, not adding forward weight
Cost: $0. Effect: real.
5. Tires Beat Every Other Upgrade Combined
If you take one thing from this article, take this: the Vipers team spends more on tires than on any other single category, and we buy them in bulk by compound, not by hype.
Our rule of thumb for US club tracks:
- Blue groove clay: soft compound with a pin-style tread
- Loamy outdoor dirt: medium compound, deeper tread
- Abrasive high-bite: go harder, save the soft stuff for the main
A $150 motor on the wrong tires loses to a stock motor on the right ones. Every time.
6. Budget Breakdown: The Full Competition Build
Here's what a competitive Vipers-spec 2WD build actually costs in 2025:
| Category | Cost |
|---|---|
| Kit (team edition) | $380 |
| Motor + ESC combo | $180 |
| Servo (high-torque) | $90 |
| Radio + receiver | $150 |
| Tires (race weekend supply) | $85 |
| Tools, setup gear, spares | $120 |
| Total | ~$1,005 |
You can absolutely race on less. This is the "don't think about it" number.
7. Practice the Same Three Corners
Our final secret isn't a part at all. Every Vipers practice session ends with 15 minutes on a single corner — usually the tightest one on the track — until we can hit it identically ten laps in a row. Consistency wins mains, not hero laps.
Bring It to Your Backyard
None of this requires a pro-level shop. A kitchen table, a basic metric hex set, and a willingness to rebuild more often than your buddies will put you in the hunt at any club in the country. And when somebody asks what your secret is? Send them this article.